
Recently, I bought the Linptech G6L Wireless Doorbell in my hunt for a smart doorbell that has no camera. My goal was to find a doorbell that had support for Zigbee, but this wasn’t an easy task.
Eventually, I ended up buying the Linptech G6L with the idea to get it to work in Home Assistant using LocalTuya. And I can tell you, it was fun, spending hours on finding a way to get this thing to work with a Home Assistant automation.
In this blog post, I will tell you how I ended up getting the G6L to trigger a Home Assistant automation.
Note, this integration is a bit hacky and may not be really reliable!
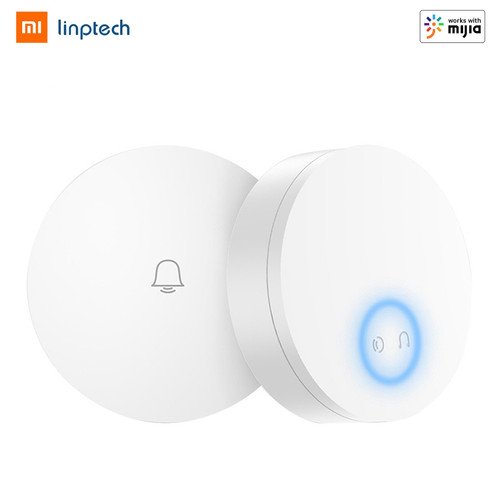
What is the Linptech G6L?
The Linptech G6L wireless doorbell, powered by Tuya, offers a battery-free doorbell solution. The doorbell uses kinetic energy that generates power when pressed, eliminating the need for batteries. As mentioned, it’s integrated with the Tuya Smart platform, to receive notifications and customize chimes and volume levels.
The Linptech G6L is available to buy on AliExpress.
How to Add The Linptech G6L to Home Assistant?
Adding the Linptech G6L is fairly straightforward. At first, you have to make sure LocalTuya has been installed in your Home Assistant installation. If you haven’t installed and/or configured LocalTuya yet with your Tuya API credentials, please follow this tutorial.
Now you’ve installed and configured LocalTuya, let’s add the Linptech G6L with the following steps:
- Go into Home Assistant
- Go to Apps & Devices
- Click on ‘LocalTuya integration’
- Click on ‘Configure’ next to ‘localtuya’
- Check ‘Add new device’ and click on ‘Send’
- In my case, the Linptech G6L wasn’t discovered automatically. Select … and click ‘Send’
- In this screen, fill in all the fields and then hit ‘Send’
- Name
G6L
- Host
[the local IP address of your G6L]
- Device ID
[the ID of the device that can be found on the Tuya IoT platform]
- Local key
- You can find this key by going here on the Tuya IoT platform:
- Cloud > API Explorer > Query Device Details in Bulk
- Filling in your Device ID and submitting the request results in details about your device. In there you can find the ‘
local_key‘.
- You can find this key by going here on the Tuya IoT platform:
- Protocol Version
3.3
- Scan interval
Leave empty
- Manual DPS to add
5,10
- DPIDs to send in RESET command
5
- Name
- Now you’ll see Entity type selection. Choose ‘sensor’ from the drop-down list and hit ‘Send’
- Pick ID 5 and give the Friendly name “
doorbell_alarm_message” and hit ‘Send’ - Again, you’ll see Entity type selection.
- Choose ‘sensor’, uncheck ‘Do not add any more entities’ and hit ‘Send’
- Pick ID 10 and give the Friendly name “
doorbell_call” and hit ‘Send’ - Hit ‘Send’ again when seeing Entity type selection.
Congratulations! You’ve successfully set up the sensors needed to trigger a Home Assistant automation when the Linptech G6L doorbell is being triggered. Let me show you how to set up an automation.
Trigger a Home Assistant Automation with the Linptech G6L?
The tricky part of the G6L doorbell is the fact that the value of none of the sensors change when the doorbell is triggered. The only part that changes is the timestamp of the property ‘doorbell_call’ that has ID 10. Sadly, with LocalTuya we cannot fetch this timestamp. So I had to find another way.
The other way is the ‘doorbell_alarm_message’ we’ve setup. I noticed that initially this sensor has no value when starting LocalTuya. This is also the case when the LocalTuya integration is being restarted. The only time the value is being set is when the G6L doorbell is being triggered. So here is our opportunity.
Follow these steps to set up a basic automation, triggered by the G6L:
- Go to Automations in Home Assistant and create a new automation
Trigger
- Choose Entity > Status
- Then fill in the fields the following way:
- Entity: doorbell_alarm_message
- From: Unavailable
- To: *
Conditions
- Leave empty in this case
Actions
- Add a new Action and search for ‘LocalTuya integration: reload’
- Optional: Add another action that sends a notification to your desired device or service.
Here is the YAML code:
alias: doorbell
description: ""
trigger:
  - platform: state
    entity_id:
      - sensor.doorbell_alarm_message
    to: "*"
    from: unavailable
condition: []
action:
  - service: localtuya.reload
    data: {}
mode: single
What makes this automation work is the service that reloads LocalTuya. This resets the sensor ‘doorbell_alarm_message‘. As soon as the doorbell gets hit, the value in ‘doorbell_alarm_message‘ will be set, the automation will trigger, LocalTuya will be reloaded and the value in ‘doorbell_alarm_message‘ will be emptied again ready for the trigger!
